
Testing
Welcome to my website. This post is about a recent project I completed.The Problem
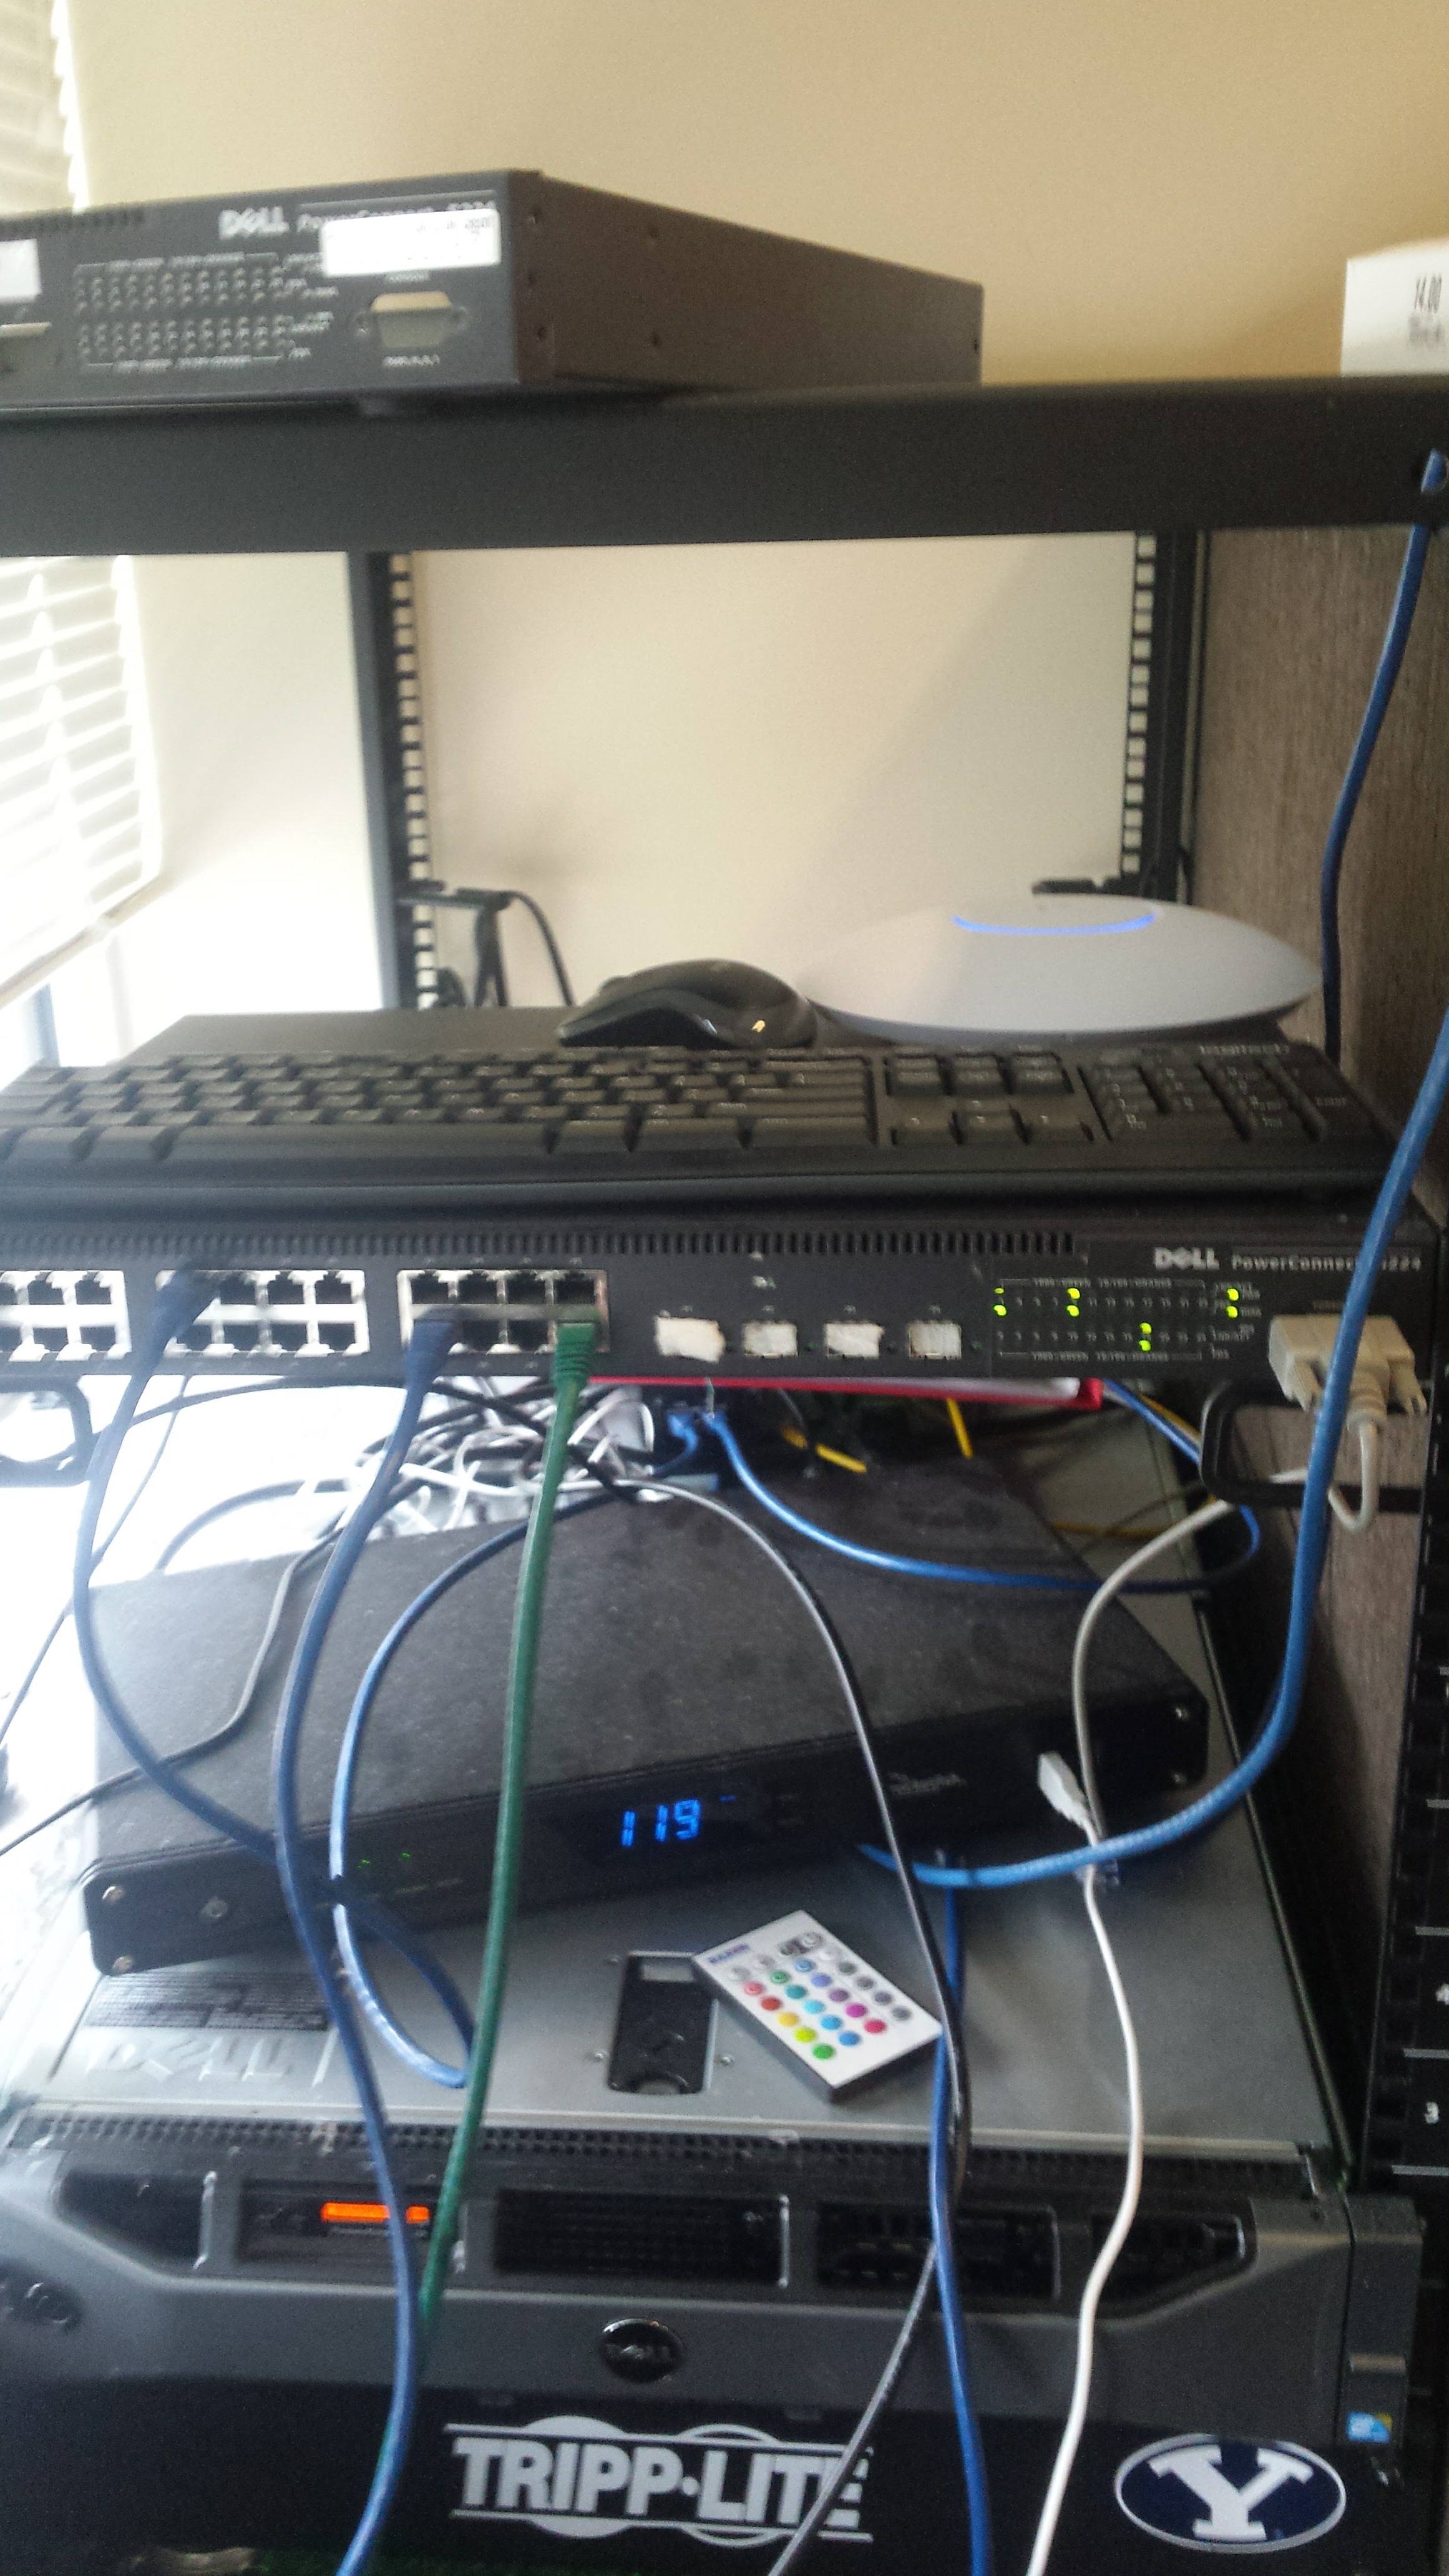
I own a Dell Powerconnect 5224 switch. It lives in my living room, and can be quite loud. I decided that it would be great if I could run it with only one or two fans instead of all three without it being outside the acceptable operating temperatures. I first checked the manual, found here, and found out that the maximum operating temperature is 40℃.
The Solution
“I suppose it is tempting, if the only tool you have is a hammer, to treat everything as if it were a nail.”
Abraham Maslow
Coincidentally, the week before I began this project, the Raspberry Pi Zero W was released, and I had just received mine in the mail. I had some parts from a previous project, and decided I would use a DHT22 sensor to read the temperature. I conveniently discovered a person who had done this before, with more features. This made my life much easier. The instructions I followed can be found here.The Software
I first created a new Raspbian boot disk (I used Pixel, because it makes life just a little easier when you have a GUI), and made sure to download all of the needed updates, as well as expand the file system to take up the whole drive. I realized at this point that my Raspbian ISO was an old version, and would not work with wireless adapters. I downloaded the newest ISO, and repeated the previous steps, and connected it to my wireless network. I followed the tutorial above, and only ran into a few errors. First of all, there were some dependencies that were not properly installed, so I installed the necessary packages.The Hardware
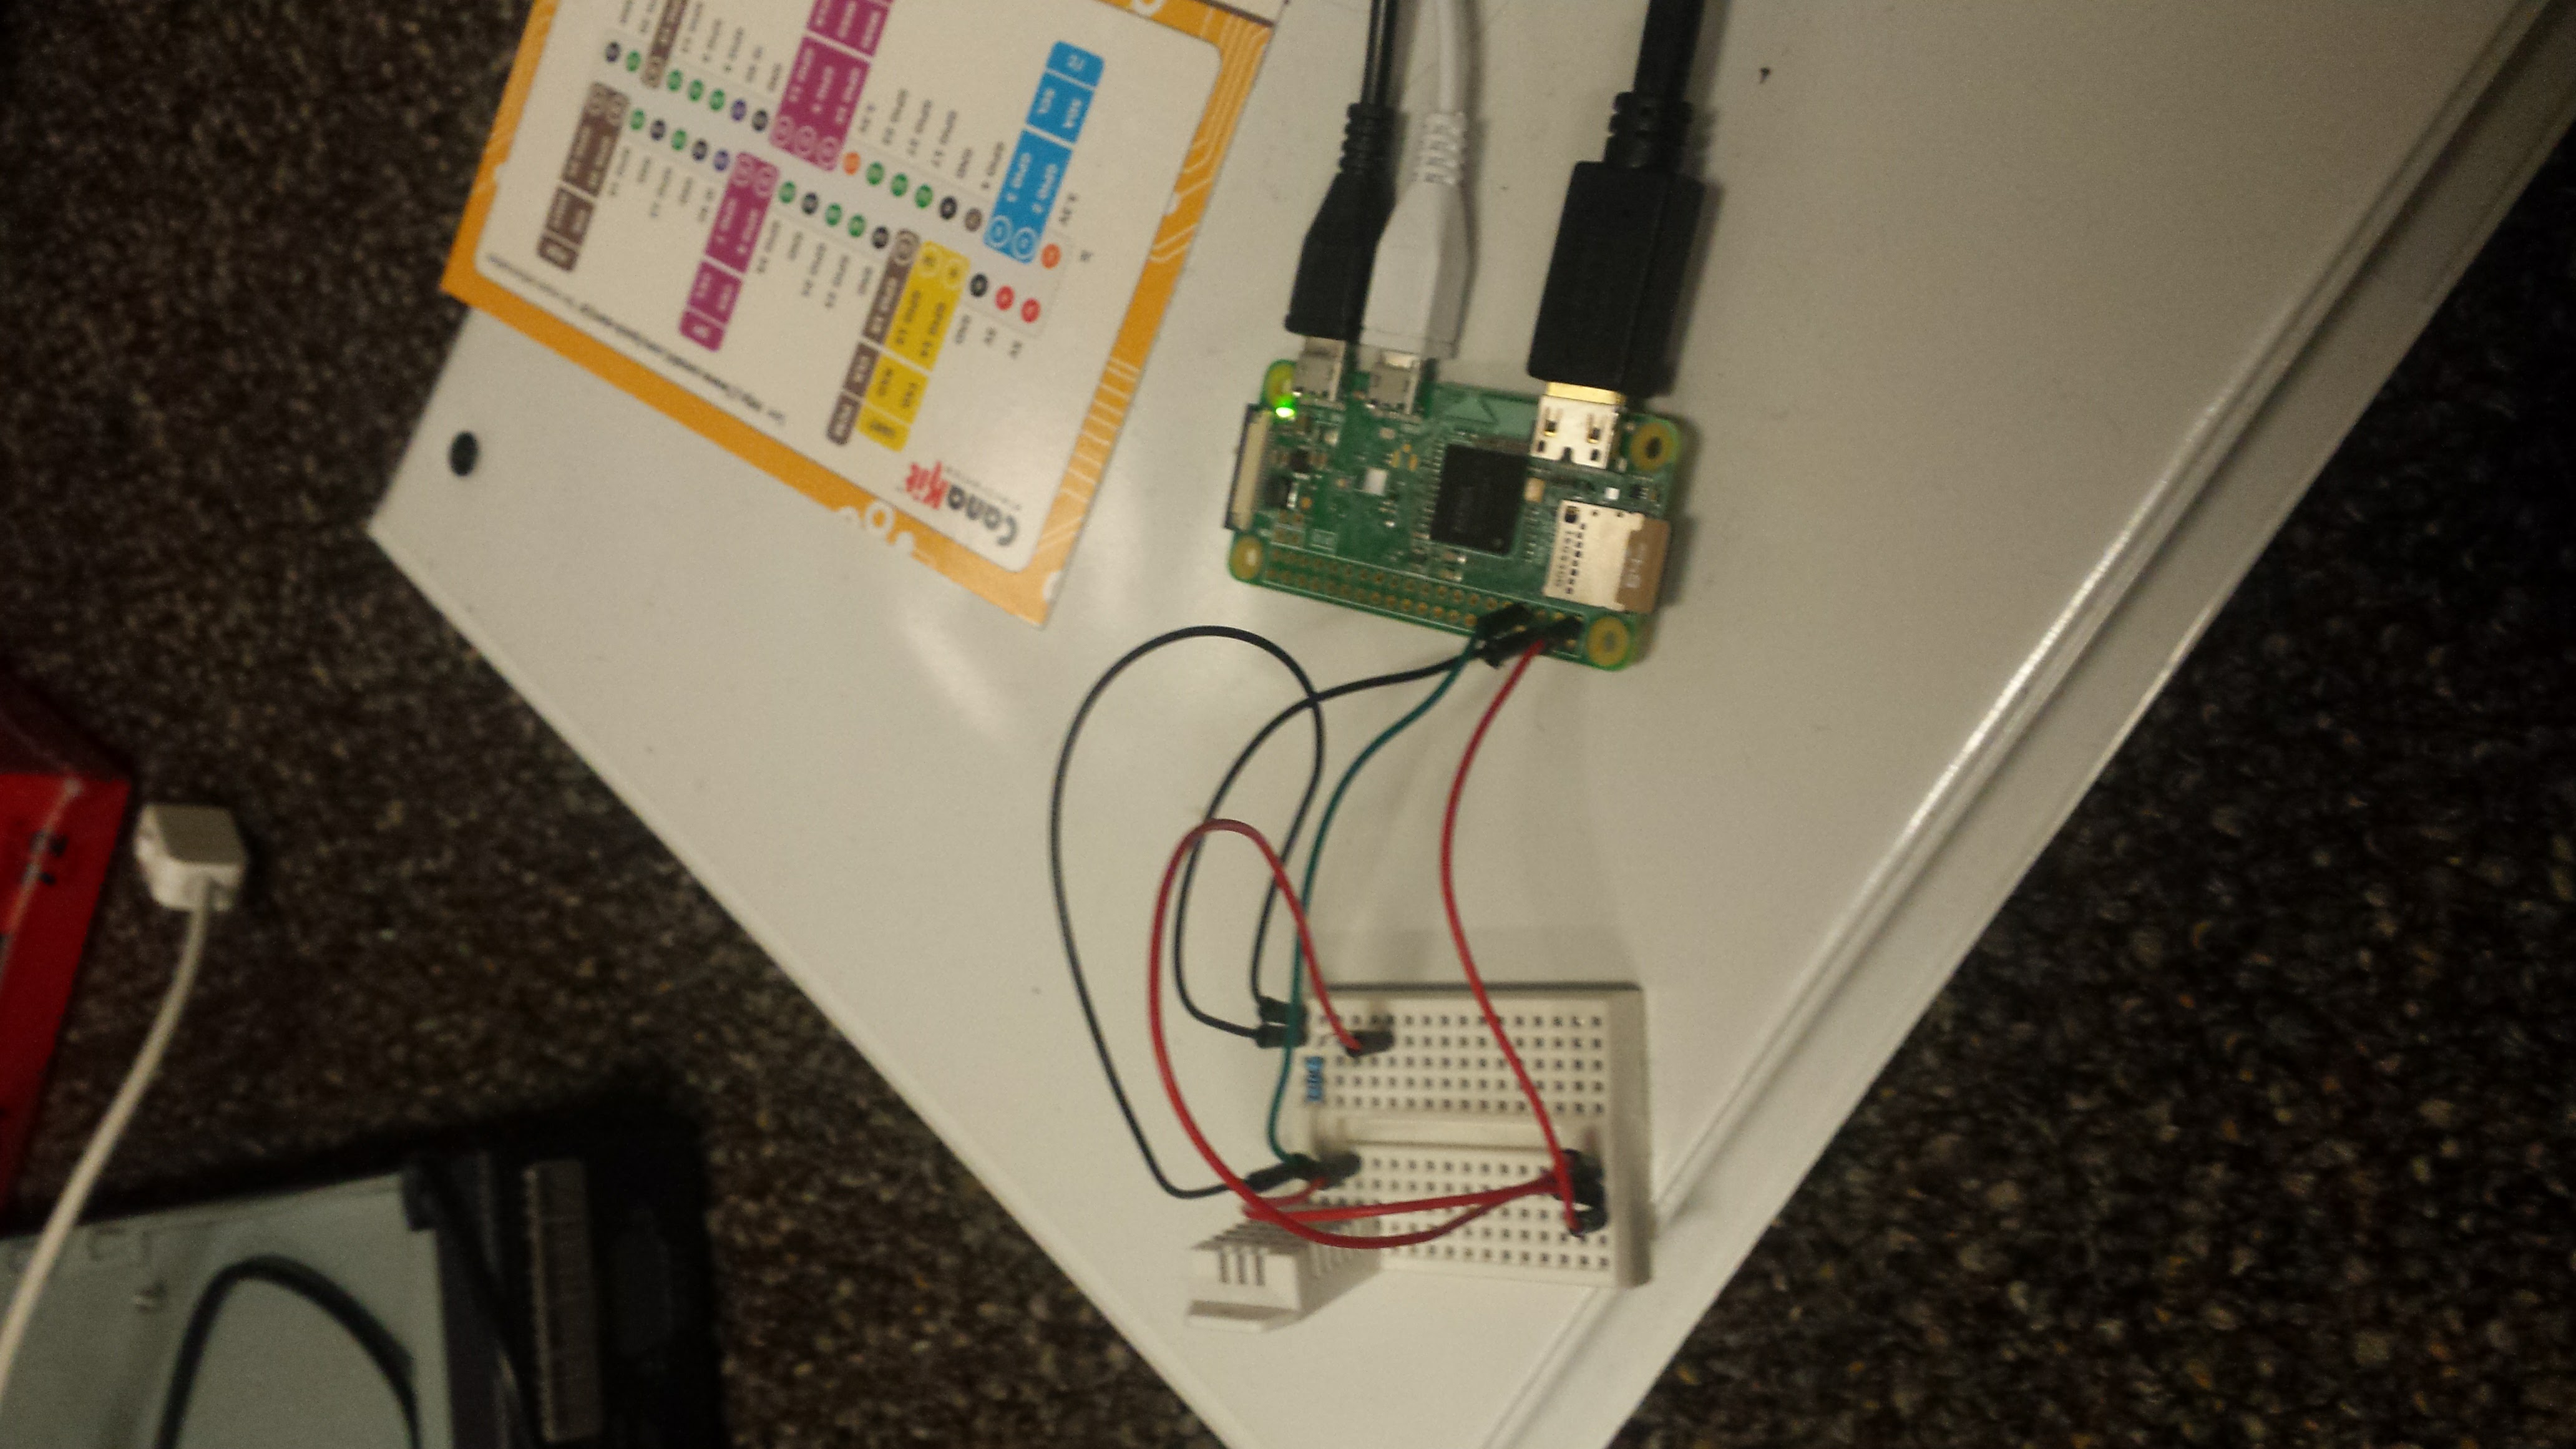
I connected the DH22 Temperature and Humidity sensor into a breadboard, and connected it to the GPIO sockets on the Pi as shown below. I then mounted the breadboard inside the switch, and taped the Pi to the bottom using electrical tape. I ran the wires through the holes for one of the fans (I always had one fan slot empty, which I will explain later). I aqired the sensor, and all of the hardware besides the Pi from Adafruit. The following picture is a link to their site:
The Test
After everything was connected, I connected to the Pi via SSH, and ran the command:

The returned data is the temperature in ℃ and the relative humidity.The Collection
Some of the code installed started a process on boot that would read the temperature and humidity every five seconds, and put it into a .csv file on the Pi. Since I didn’t feel like looking through this much data, I modified the code to take measurements every minute. I verified that this was working, and began collecting data. I first took some control measurements by leaving the switch powered down, and recording the data for about 24 hours. I then unplugged all but one fan, and repeated the process, then did it once more with two fans. I had been previously running it for several months on only two fans, and never had any problems, so I didn’t bother recording data with three fans. After each test, I shut down the Pi and the switch, copied the data onto my laptop, and set it up for the next test.The Analysis
Since I was unable to get one of the features from the tutorial working (a web server running on the Pi that would make a graph out of the data contained in the each .csv file), I opened each file in Excel, and analyzed the data there. I forgot to empty the .csv after each test, so I first found where I had switched them out, and split up the data. I then analyzed the data, finding the average temperature, as well as the maximum temperature in each set of data. I got the following results:
| Maximum Temperature | Average Temperature | |
|---|---|---|
| Control | 24.8 | 30.6 |
| One Fan | 31.3 | 33.9 |
| Two Fans | 24.1 | 29.0 |
The raw data can be downloaded at data.spalica.com .The Conclusion
Since the temperature never got within 6℃ of the maximum operating temperature, I am now running my switch with only one fan, and it is much quieter in my living room.